Crochet a Cozy and Stylish Beanie Hat for Winter
A simple crochet beanie can completely transform an everyday outfit with handmade charm. This cozy piece blends comfort, warmth, and timeless style into something you’ll enjoy wearing again and again.
Its clean design makes it suitable for beginners while still looking polished and attractive. Soft yarn and a comfortable fit turn this crochet beanie into an item you’ll reach for throughout the colder seasons.
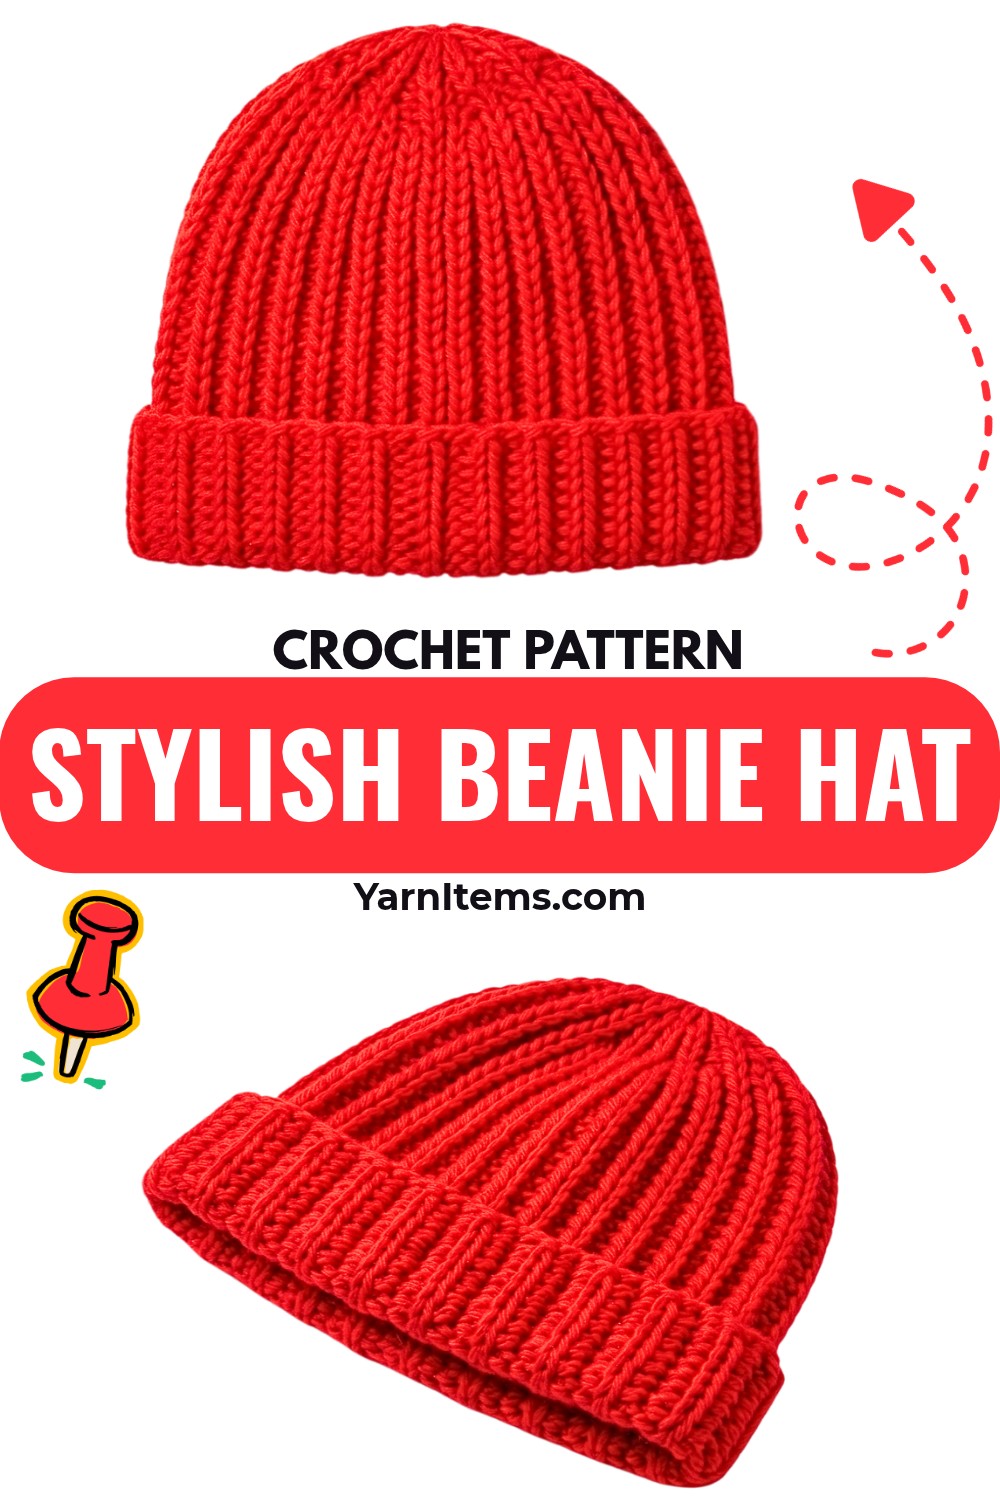
The beauty of this crochet beanie lies in its effortless texture and wearable design. It works wonderfully as a thoughtful handmade gift or a practical piece for your own wardrobe.
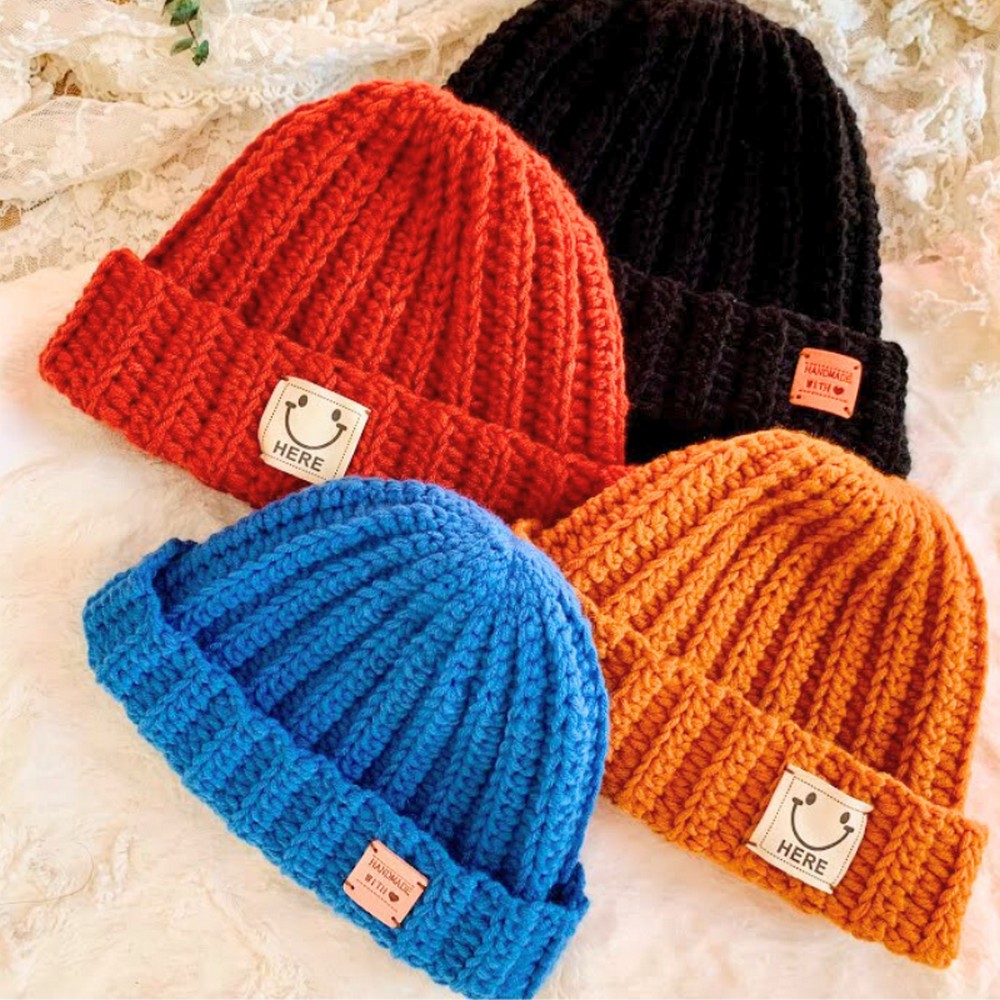
By choosing different yarn shades, you can create a look that reflects your personal style without changing the overall design. The information below walks through the materials, stitches, and steps needed to make this cozy beanie with confidence.
Credit Nala Crochet
Estimated Time:
Approx. 1–2 hours (may vary based on your crochet speed and skill level).
Materials & Tools Needed
- Yarn: Acrylic or Wool yarn, size 4.5 mm (Medium/Worsted weight)
- Crochet Hook: 5.5 mm (Size 9/0)
Tip: Use a hook ~1 mm larger than yarn size for added flexibility and softness - Accessories: Scissors, Yarn/Tapestry Needle, Stitch Marker
- Optional: Leather or fabric “Handmade” label
Gauge
- Crown Taper Gauge:
- The top 8 stitches (4 single crochets + 4 slip stitches) measure 5–5.5 cm.
- Body Height Gauge:
- The main half-double crochet (HDC) section measures 28–29 cm flat/unstretched.
- Row Width Gauge:
- Two rows measure approximately 2.5 cm wide.
Pattern Notes
Construction
- Work Sideways: The piece is crocheted in rows running along the width of the hat (side-to-side rather than top-to-bottom), creating a ribbing effect.
- Flat Ribbing: Use Back Loop Only (BLO) stitches in each row to achieve the desired ribbed texture.
- Seamed: When the rows are complete, the fabric will be joined along the side seam, forming a tube.
- Crown Gathering: After seaming, the top of the tube (crown) will be gathered tightly to shape the hat.
Contoured Crown
- Tapering: At the end of each row, work 4 Single Crochets followed by 4 Slip Stitches.
- This will automatically taper the rows toward the crown when gathered.
Turning Chains
- Crown End: Start each row with Chain 1 to provide a smoother edge at the crown side.
- Brim End: Start each row with Chain 2, which allows for more stretch and flexibility at the brim side.
Customization Chart
Here’s the information without using a column format:
For 6 months to 1.5 years, the approximate head circumference requires:
- Chain: 30+2
- Main Body: 22 HDC
- Top Crown: 4 SC and 4 Sl st
- Total Rows: 32
For 1.5 to 3 years, the approximate head circumference requires:
- Chain: 30+2
- Main Body: 22 HDC
- Top Crown: 4 SC and 4 Sl st
- Total Rows: 32
For 4 to 6 years (tutorial sample), the approximate head circumference requires:
- Chain: 34+2
- Main Body: 26 HDC
- Top Crown: 4 SC and 4 Sl st
- Total Rows: 36
For 7 to 10 years, the head circumference of 49–53 cm requires:
- Chain: 36+2
- Main Body: 28 HDC
- Top Crown: 4 SC and 4 Sl st
- Total Rows: 38
For 11 to 12 years, the head circumference of 49–53 cm requires:
- Chain: 36+2
- Main Body: 28 HDC
- Top Crown: 4 SC and 4 Sl st
- Total Rows: 40
For Adult Women (S/M), the head circumference of 54–56 cm requires:
- Chain: 38+2
- Main Body: 30–32 HDC
- Top Crown: 4 SC and 4 Sl st
- Total Rows: 42
For Adult Women/Men (L), the head circumference of 57–60 cm requires:
- Chain: 42+2
- Main Body: 34 HDC
- Top Crown: 4 SC and 4 Sl st
- Total Rows: 44
For Adult Men (XL), the head circumference of 60–64 cm requires:
- Chain: 45+2
- Main Body: 37 HDC
- Top Crown: 4 SC and 4 Sl st
- Total Rows: 46
- Brim Fold: Folded cuff measures 5–6 cm high.
- Width Adjustment: Adjust total row counts by even numbers (+2, +4, +6 rows) if needed.
Abbreviations
- Ch: Chain
- St / Sts: Stitch / Stitches
- Sl st / C: Slip Stitch
- SC / X: Single Crochet
- HDC / T: Half Double Crochet
- BLO: Back Loop Only
Step-by-Step Pattern
1. Foundation Chain (Bottom-to-Top Setup)
- Make a slip knot and Chain 36 (34 base chains + 2 turning chains).
- Count down 8 chains from the crown top end and place a stitch marker into stitch 8.

2. Row 1 (Foundation Row)
- Starting into the 3rd chain from the hook:
- 26 HDC: 1 HDC in each chain to the stitch marker.
- 4 SC: Remove marker; work 1 SC in each of the next 4 chains.
- 4 Sl st: Work 1 Sl st into each of the final 4 chains at the crown top.
- Chain 1, turn your work.

3. Row 2 (Crown to Brim – BLO)
- 4 Sl st BLO: Work 1 Sl st in BLO of the first 4 stitches.
- 4 SC BLO: Work 1 SC in BLO of the next 4 stitches.
- 26 HDC BLO: Work 1 HDC in BLO of the remaining 26 stitches down to the brim edge.
- Chain 2, turn.
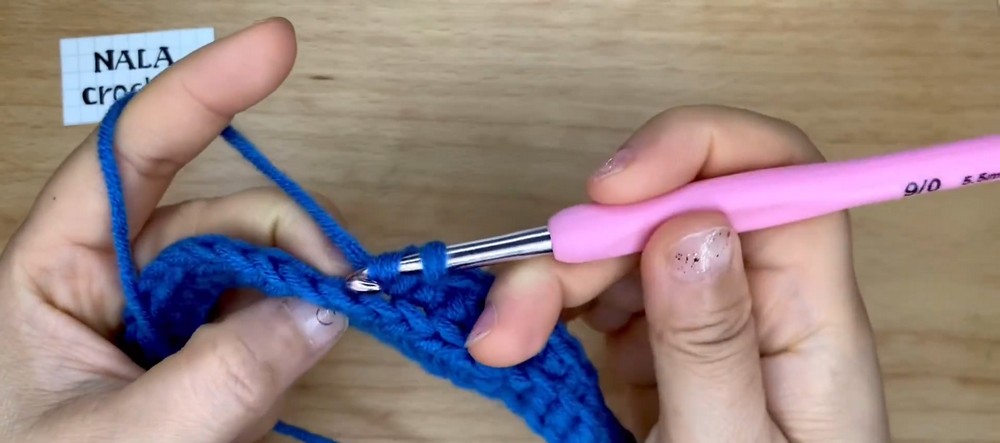
4. Row 3 (Brim to Crown – BLO)
- 26 HDC BLO: Work 1 HDC BLO in the first 26 stitches.
- 4 SC BLO: Work 1 SC BLO in the next 4 stitches.
- 4 Sl st BLO: Work 1 Sl st BLO in the final 4 crown stitches.
- Chain 1, turn.
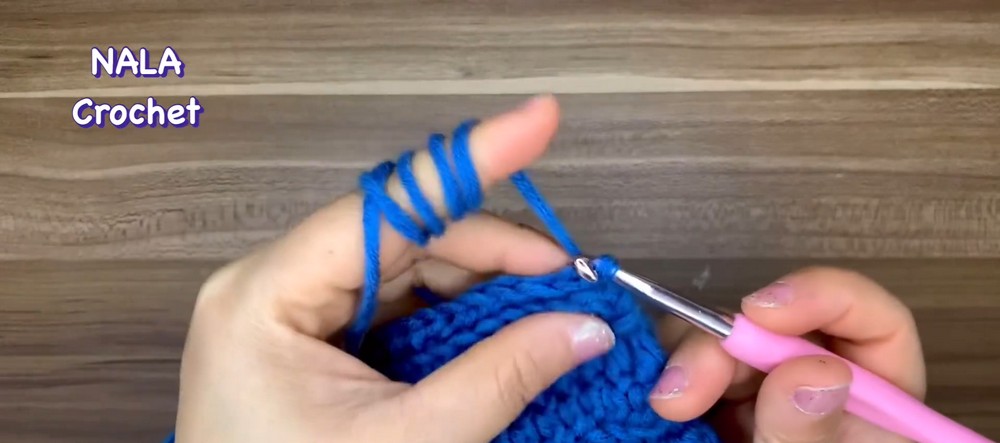
5. Rows 4–36 (Body Construction)
- Repeat Rows 2 & 3 strictly in BLO until 36 total rows are completed (or refer to your target row count from the size chart).
- Do not cut yarn yet.
6. Seaming the Side (Slip Stitch Join in BLO)
- Align the starting chain edge with the final row edge (inside face out).
- Chain 1, insert hook into:
- Outer loop of foundation chain and back loop of the last row.
- Work 1 Sl st across all stitches (34 total).
- Fasten off, leaving a 25–30 cm yarn tail for crown gathering.
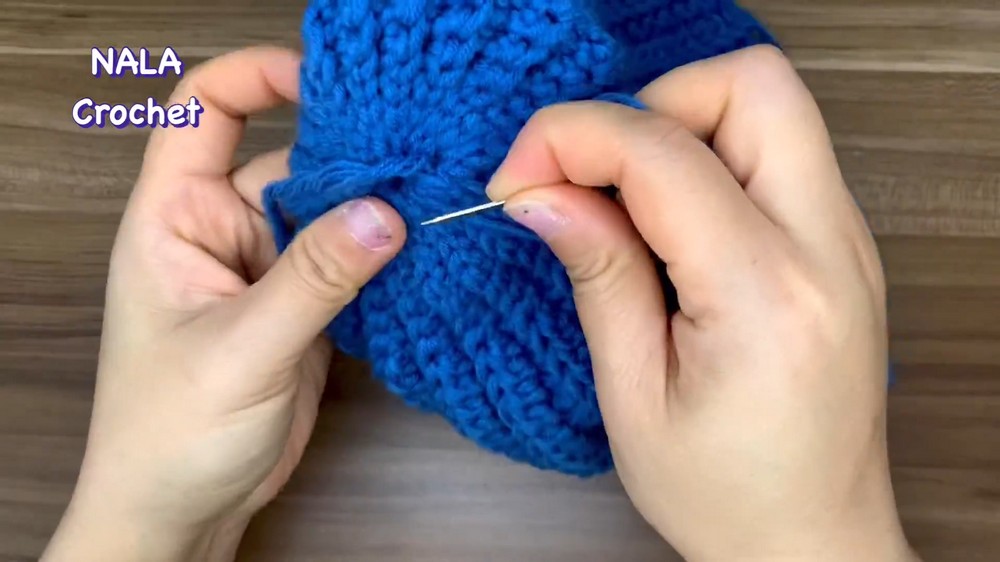
Gathering the Crown & Finishing
- Thread the long tail onto a tapestry needle.
- Gather the crown: Weave the needle through outer edge loops surrounding the opening and pull tight.
- Secure: Pass the needle through the center, tie off, and weave in ends.
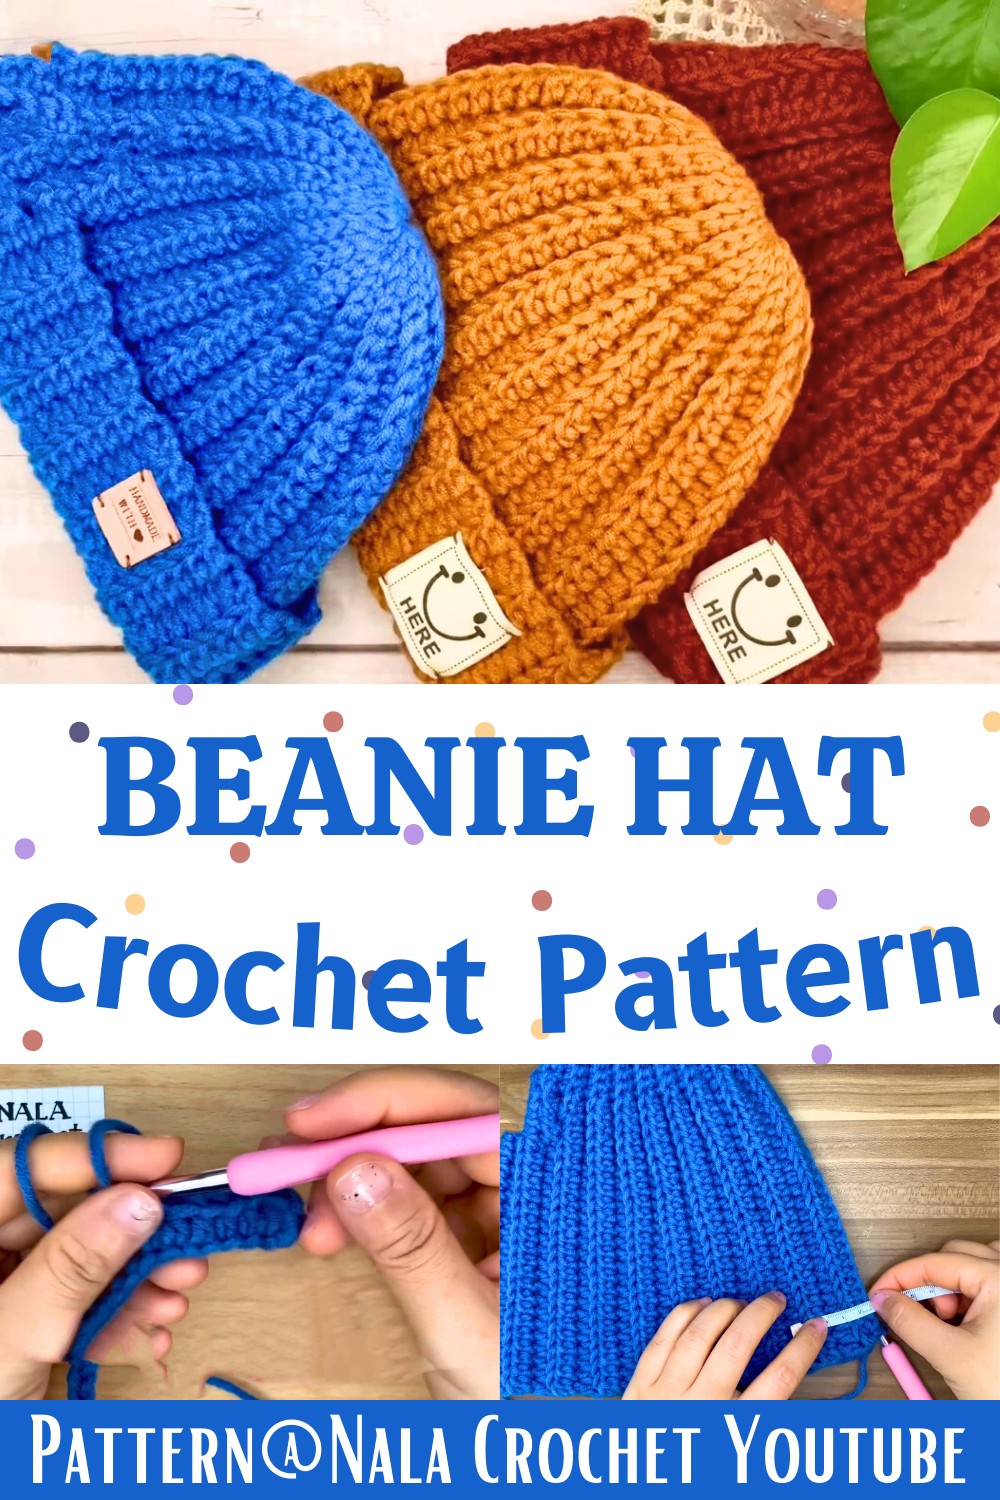
- Turn the beanie right-side out, fold up the cuff, and attach a leather label, if desired.
Conclusion
You’ve now completed your crochet beanie! Celebrate your creation by showing it off or making additional hats as gifts in different colors and styles. With practice, you’ll be able to create more complex and personalized designs.